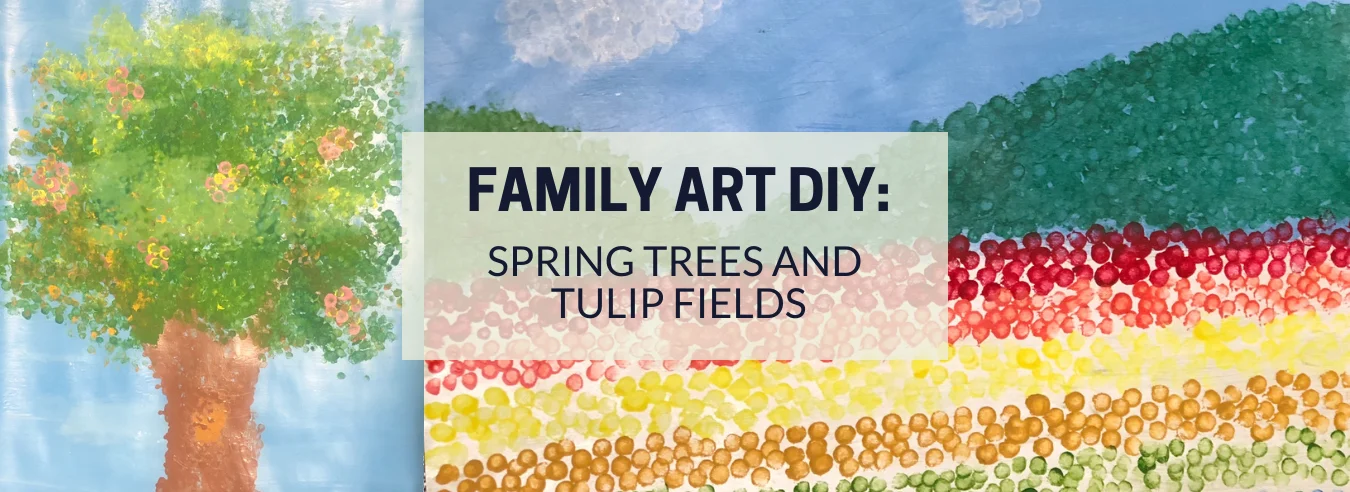
People who are lucky enough to live in places with changing seasons look forward to watching the trees change color every year. This bright and beautiful transition in nature is often a source of inspiration for artists. The upcoming fall and winter holidays offer us some free time away from work and school to enjoy a bit of arts and crafts. During those long holiday weekends, why not warm up some spiced cider and work on seasonal crafts with your loved ones? You can bring nature into your home and celebrate the changing of seasons with a creative, homemade fall decoration.
These step-by-step instructions will guide you through making a Falling Leaves Jar that’s fun and easy for the whole family!
The Materials
First, let’s start by gathering the necessary materials for this art project. You’re going to need the following:
- Mason Jar – The larger the size, the more room you have to work with
- Real or Fake Leaves – Collect a variety of shapes/colors from your neighborhood, or visit your local dollar store or art supply store for plastic or foil leaves
- Tree Branches – Try picking up different sizes to see which fit better inside the jar
- Glycerin – Pharmacies and art stores usually carry glycerin
- Water
- Hot Glue Gun
Prepping the Tree
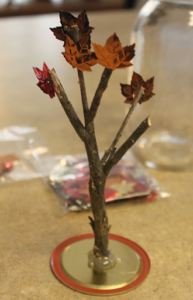
The central component of this art piece is your miniature tree, so you’ll want to spend some time making it stand out. Finding sticks that mimic the shape of a large tree with many branches is key. Start by gluing the base of the branch to the bottom of your mason jar’s lid (the side that faces inside the jar once it’s screwed on) using the hot glue gun. Hold it upside down once the glue has dried to test that it’s sturdy and has successfully adhered to the lid.
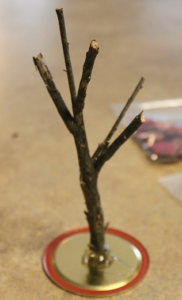 Step 1: Glue branch to bottom of mason jar lid.
Then, you’ll want to use the hot glue gun to attach the leaves onto the branches. Be sure to attach just a few leaves so that it gives the impression of a tree that has lost most of its leaves. You’ll see why later!
Step 2: Glue leaves onto the tree branch.
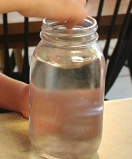
Next, fill the mason jar about 3/4 of the way to the top with water. Fill the remainder of the jar with glycerin, leaving a little bit of room so that you can submerge your tree inside without having the mixture spill out. Mix the water and glycerin solution together thoroughly.
Step 3: Add water and glycerin to the mason jar and mix well.
After mixing the solution together, add some individual leaves to the inside of the jar. These will give the appearance of “falling leaves”. Take the lid with your tree attached and slowly and gently submerge it into the water and glycerin solution.
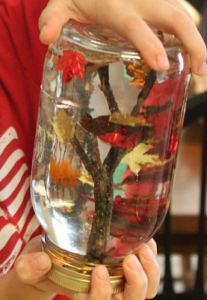 Step 4: Add extra leaves and cover the jar with the lid.
Cover and seal the jar tightly with the lid. Then, flip the jar over to watch the falling leaves drift slowly through the solution. Ta-da! You have your very own autumn tree with falling leaves that you can decorate your home with!
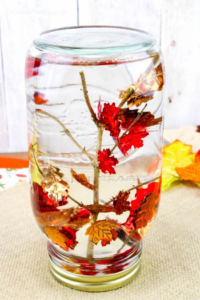 Step 5: Firmly seal the jar and flip it over to watch the falling leaves.
Bonus Tip!
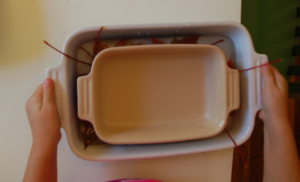
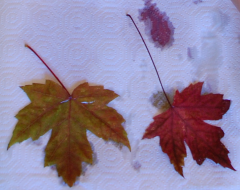
If you have leftover glycerin and fresh leaves that you don’t want to go to waste, you can make easy, decorative leaves. All you have to do is mix a solution of 2-parts water and 1-part glycerin together. Pour the solution into a pan or bowl. Then, fully submerge the leaves and weigh them down with something heavy, such as another pan or bowl, so that they remain submerged in the solution. Set aside for 3-4 days, then blot them dry with a paper towel and voilà! Now you have preserved leaves that you can decorate your whole house with every year. You can also incorporate them into other fall art projects. The possibilities are endless!
Special thanks to Frugal Fun For Boys and Girls for sharing this Falling Leaves Craft. Photo credit to Sarah Dees.


