With spring in the air, one usually thinks of the flowers and trees in bloom…
Family Art DIY: Yarn Snow Trees

Until you’ve seen freshly fallen snow covering a landscape, it’s difficult to describe just how breathtaking that stunning sight is. Whether it be a field, a town, or a forest of trees, there’s something quite magical and renewing in a scene dusted with glistening white snowflakes.
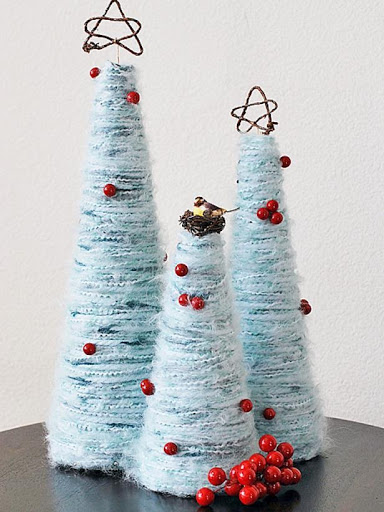
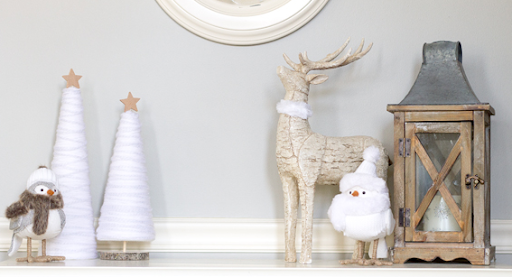
This DIY art project is for those who want to bring that shimmering winter beauty into their homes. These easy Yarn Snow Trees will also add a fun, handmade flair to your space. What’s more, our step-by-step instructions are simple to follow along with so that the whole family can join in.
Step 1: Gather the Materials
For the Trees:
- Styrofoam Cones – Can be found online or at an art supply store
- White Yarn – We suggest getting yarn in a variety of widths to experiment with the overall look
- White Yarn with Silver Flecks or Sparkles
- Straight Pins
- White Elmer’s Glue
- Optional Tree Decorations: Stickers, ribbons, buttons, etc.
Optional Tree Stand:
- Small Coaster or Round Wood Slice – Can be found online or at an art supply store
- Small Dowel Rod – Can be found at a home improvement store or an art supply store
- Hot Glue Gun
Step 2: Prep the Cone
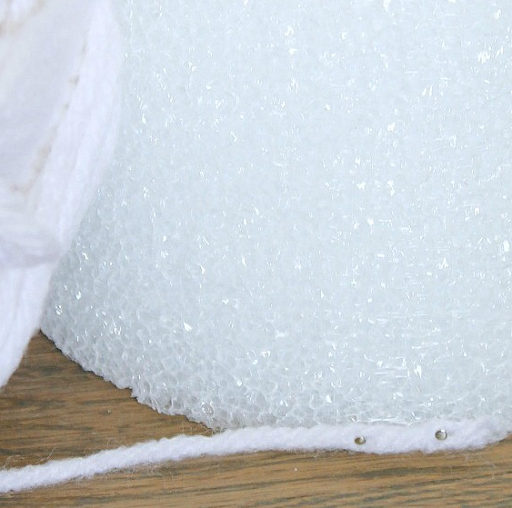
The cone is the base of this project, so it needs to have a strong foundation to prevent the yarn from unraveling. Start by pinning one end of a piece of yarn to the very bottom of the cone, using several pins to ensure it stays in place.
Step 3: Begin Coiling
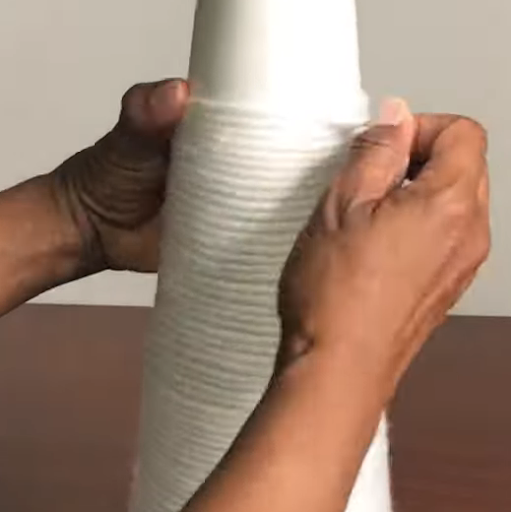
With the end of the yarn secured, you can begin spinning the yarn around the cone, row by row, in an upward direction. Be sure to keep the yarn as close to the previous row as possible to avoid creating gaps. You can also periodically use Elmer’s glue as you go along if you would like to further affix the yarn.
Step 4: Secure the End of the Yarn
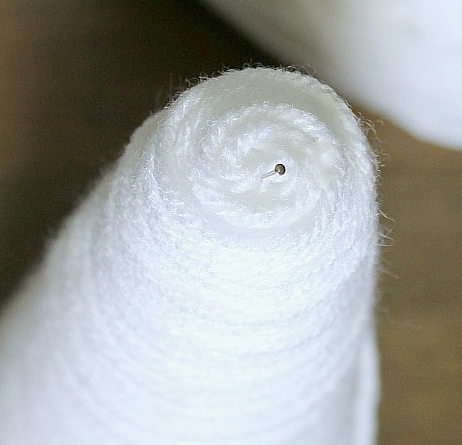
Once you reach the top of the cone, and no Styrofoam can be seen, you can cut any extra yarn off. Then, secure the end of the yarn to the very top of the cone using a metal pin or Elmer’s glue.
Step 5: Start Decorating
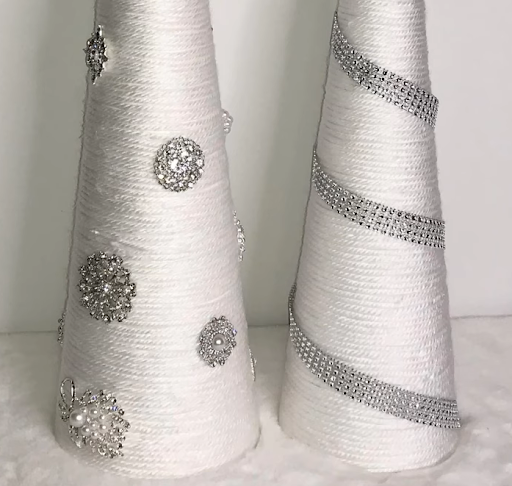
While the plain white “snowy trees” are beautiful as is, we encourage you to get creative and add a variety of decorations to the mix. Spice up your tree with ribbons, stickers, decorative pins, jewels, or even tree-toppers. You can also coil pieces of metallic yarn throughout the white base for a subtle sparkle. You can use either hot glue, Elmer’s glue or straight pins to secure your decorations to the tree.
Step 6: Optional – Add the Wood Stand
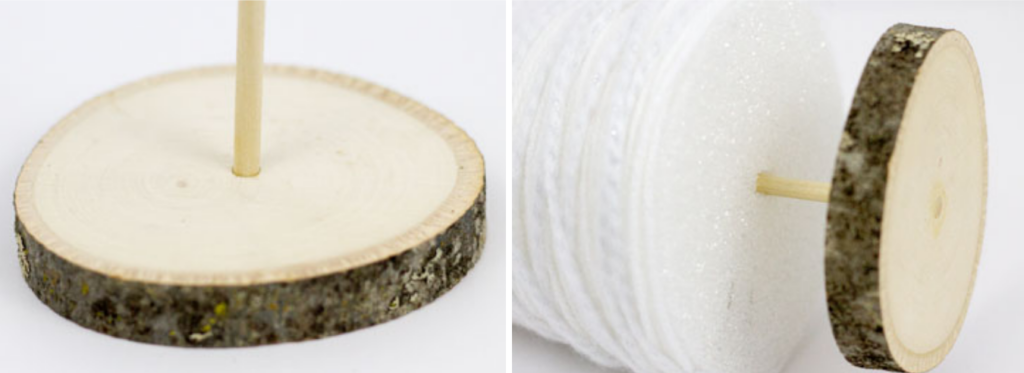
Begin by hot gluing the short dowel rod onto the center of the wooden coaster. Once the glue has dried, insert the top of the dowel rod through the base of the cone. If the dowel rod doesn’t insert easily, try to create a hole in the Styrofoam using an object of similar size, such as a screwdriver or pen.
Step 7: Brainstorm Exciting Tree Variations
Now that you know how to make this easy DIY project, you can dream up new ideas for additional trees or even plan ahead for next year. Perhaps you would like to brighten up your space with colorful yarn options or opt for a more festive holiday tree and add string lights. The possibilities are endless!
